
Print out the photo on an 8 1/2 x 11 sheet of paper, tape a piece of tracing paper over the photo and start working on a construction drawing of the head as we learned in class this week.
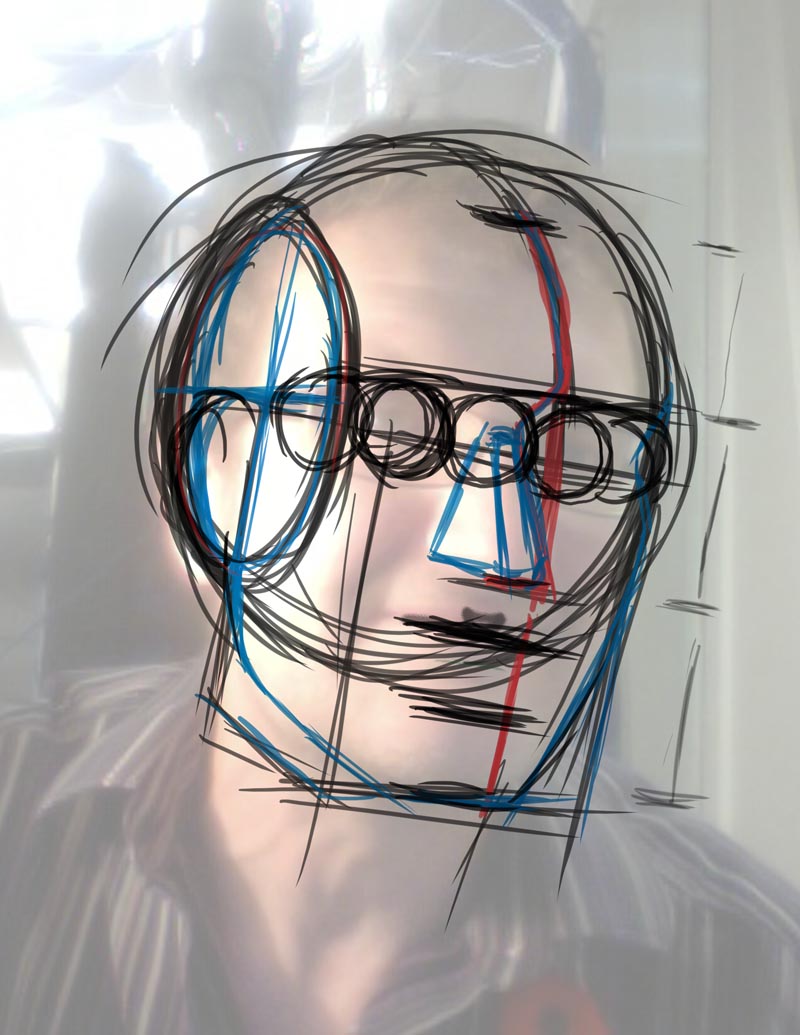
Once you've completed the construction drawing using basic shapes and applying the rules of proper proportion to establish the location of the facial features and the planes of the face and head, tape a new piece of tracing paper over top and begin a clean line drawing on a new layer. Use both the construction drawing and the photo to help you draw this clean line artwork. DO NOT simply trace the photo!

Continue refining your line drawing...

When you're satisfied that you've completed enough of the line drawing to give you an accurate linear portrait sketch, scan or take a photo of the three layers and upload a jpeg to the Drop Box on eLearn. The sketch is due in the Dropbox Monday July 14th at 1 o'clock..
No comments:
Post a Comment