Monday, December 3, 2018

ISA #3: Tattoo Shop Billboard

You are designing a billboard for a local tattoo shop: Hamilton Tattoo Parlour

The billboard is promoting a $100 gift certificate as a Christmas gift idea.

The headline "Christmas Decorations" must be included in your design, along with the name of the shop, their logo, their address, phone number and website URL.

Your design must include all or part of the face, figure and hands. Also consider what kind of decorative elements you can incorporate that suggest "Christmas". Last year the theme was 'Hennah Tattoo Salons' so these examples are not exactly the same as what you'll be doing (these students weren't required to show the figure - just face and hands)but you may still find these helpful:


Important: Remember that you are designing a billboard, a horizontal rectangle that is not the same proportion as your sketchbook page, so you cannot just come in one inch from the edge of the page when you sketch the image area. Google "billboard templates" and look at the typical shapes of billboards and choose one that looks like most billboards we see around Hamilton. Some of the examples above were not billboard-proportioned and subsequently lost marks.


There will be three pages of sketches to complete...

1.) A page of brainstorming sketches (goes in the Week Fourteen Sketchbook dropbox, file name: LPeng_ISA03_Brainstorms.jpg*).

2.) A page of four thumbnail sketches (goes in the ISA #3 dropbox, file name: LPeng_ISA03_Thumbnails.jpg*).

2.) A full page comprehensive sketch (goes in the ISA #3 dropbox, file name: LPeng_ISA03_Comp.jpg*).

*Substitute your name for mine in the file name)

All three pages are due in their correct dropbox at what would be the end of our regular class time during Week Fourteen (Exam Week).

We will not be meeting in class during Exam Week.

Creativity is key to getting a high mark. Think creatively about your billboard concept! To inspire you, here are a few examples of designs that use hands and faces in very creative and unexpected ways:


Monday, November 12, 2018

CC1, Week 11: ISA #2

Your second Independent Study Assignment will take place next week, however you can begin immediately if you prefer. It would be advisable to not wait until that day to begin! NOTE that we do not meet in class during an Independent Study Assignment.

The assignment is to redesign the cover of an existing video game. Your new design must incorporate a montage of figures and heads. For example, here is an existing video game cover...


There are four parts to your 2nd Independent Study Assignment:

1.) a page of rough, exploratory sketching (Goes in the Week 11 Sketchbook dropbox. Naming convention (replace my name with your own): LPeng_ISA02_BrainstormSketches)


2.) a minimum of four thumbnails (goes in the ISA #2 dropbox. Naming convention (replace my name with your own): LPeng_ISA02_ThumbnailSketches)


3.) a full size pencil comp (Goes in the ISA #2 dropbox. Naming convention (replace my name with your own): LPeng_ISA02_Comp) NOTE that the design is now a montage of figures and heads.


4.) a jpeg of the actual existing video game box cover, as shown at the top of this post. (Goes in the ISA #2 dropbox. Naming convention (replace my name with your own): LPeng_ISA02_ExistingDesign)

To earn marks you must submit all pages to the correct dropbox(es) PLUS the existing image - four files all together - in .jpeg or .png format only - do NOT zip your files. Files submit to the wrong dropbox will get a zero. Reread these instructions carefully before uploading!

Remember:

* Draw the image area to the correct proportion.

* Draw guidelines for all typographic elements.

* Leave construction lines in place so I can tell you are using the stickman construction method when drawing figures and the proportion method when drawing faces.

Monday, October 29, 2018

Week Eight: Drawing the Head in Proportion

Your in-class (work-at-home) exercise for this week is to complete sketches of the human head in correct proportion. Your finished sketches should look like this:


Please use the naming convention(replacing my name with your own) LPeng_MaleHeadSketch.jpg (or .png)


Please use the naming convention(replacing my name with your own) LPeng_FemaleHeadSketch.jpg (or .png)

You can choose your own hairstyles for both these sketch pages.

To learn how to construct the human head like I did in these sketches, first watch this short video on drawing the head from a front view (ignore the instructors direction to watch the Part One video).

Then watch this second short video on drawing the head from a side view.

Follow the instructor's step-by-step process to complete your two sketch pages.


This Week's Sketchbook Assignment:

Sketch your own head using the construction method - one front view and one side view. Take a photo of your sketch with all the construction lines still visible. Now add finishing details - but add Hallowe'en makeup to one of the view. 


Your Hallowe'en makeup can include modifications to hair (i.e. as a werewolf) and/or features (fake ears, nose, etc.) but should not be a full face-covering mask (like a Friday the 13th Jason hockey goalie mask, or a Spider-Man mask). A partial mask (i.e. Captain America, Batman) is OK. Take a photo of your sketch with all the construction lines erased. You may add colour and/or background to this version. Please use the naming convention (replacing my name with your own) LPeng_SelfPortrait_Halloween.jpg (or .png)

Tuesday, July 24, 2018

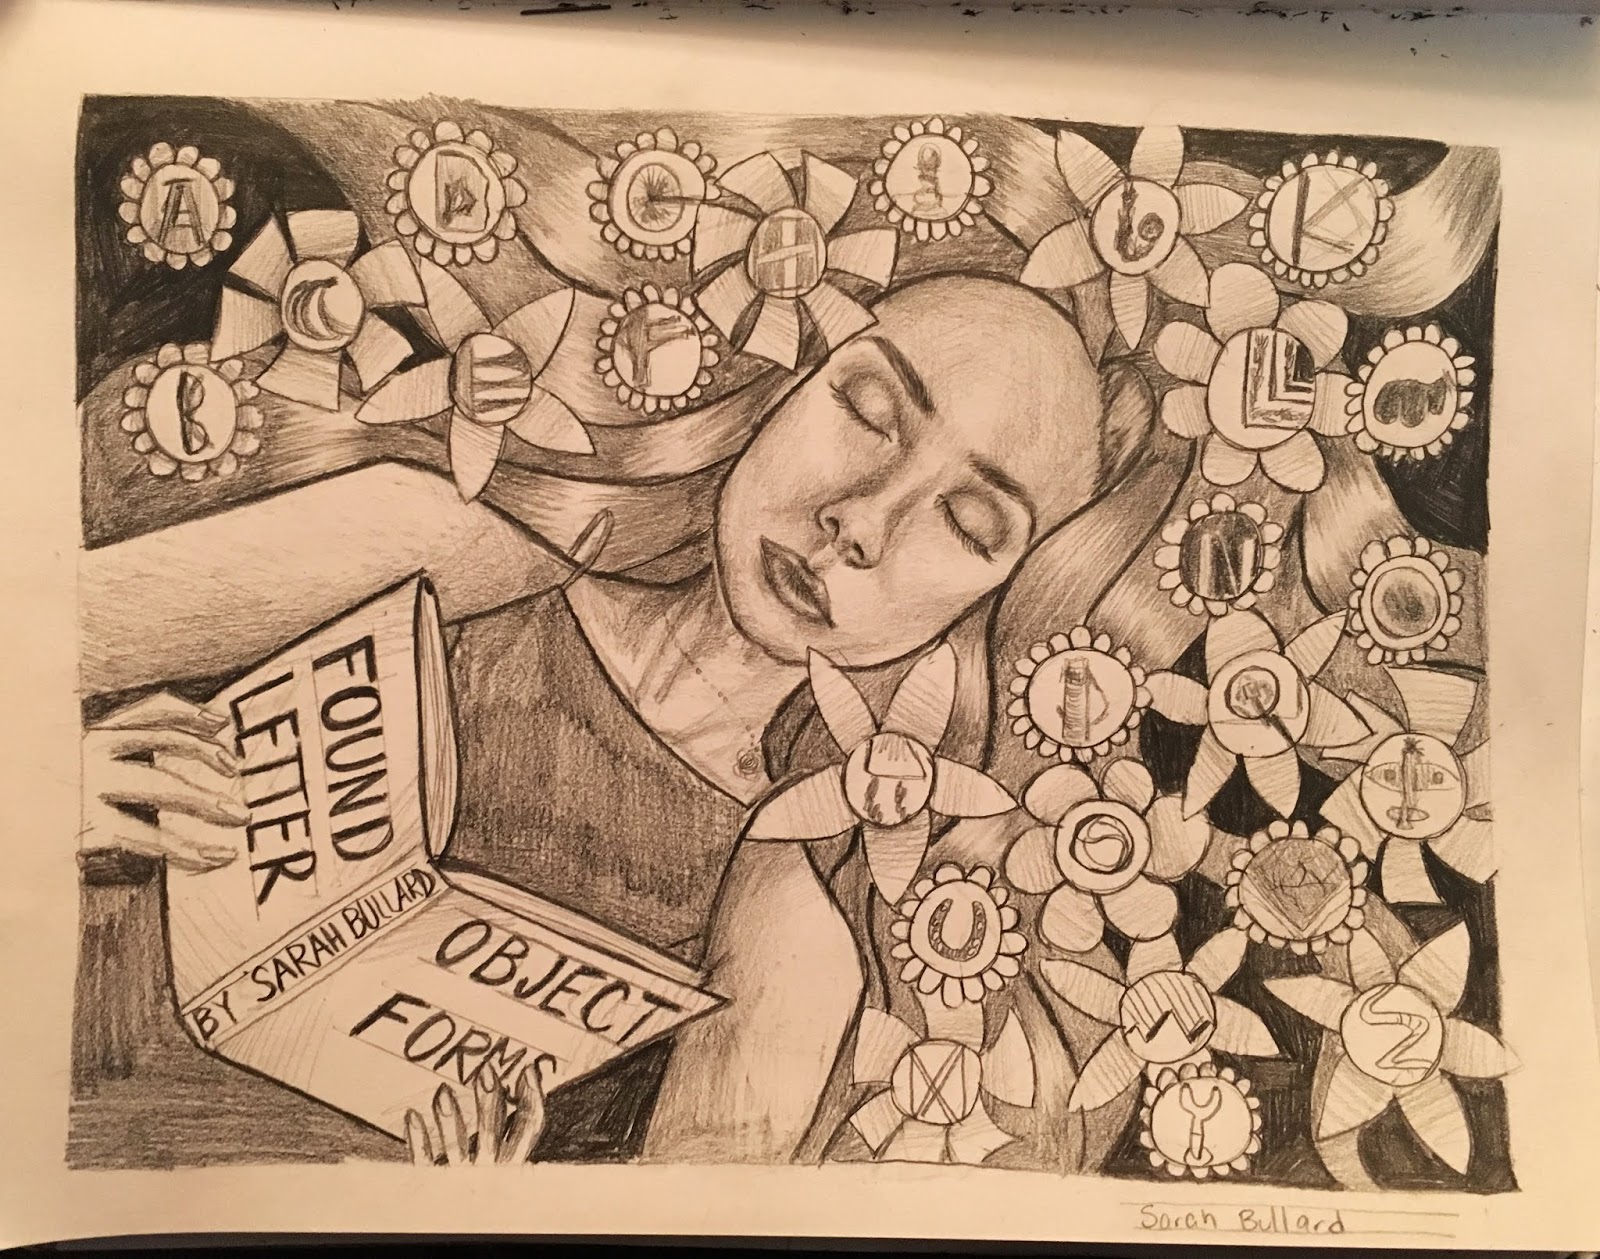
CC2 Major Project: Letterforms in Your Environment

This week you are to doing field research, finding and photographing letterforms in your environment. Each student should assemble all their letterform photos onto a single 8 1/2" x 11" page like this example:


Important: If you haven't completed this step it won't be possible to complete the work in the next several weeks. Your priority right now should be completing and submitting your photo sheet ASAP!

Today in class we begin conceptualizing a poster design which will show all 26 of your letterforms in a creative, non-grid based framework. We begin by brainstorming ideas for either a vertical or horizontal format poster. Four thumbnails are to be completed in class or as soon afterwards as possible. Include some indication of values (shading) and the title "Found Object Letterforms by (Your Name)".

Here are a few examples of what your thumbnails should look like:


I will give you feedback on which concept has the most potential so you can begin working on a full page comprehensive sketch, which should be completed by the time we get to class in Week Three.

Here's what your comp should look like:


In class during Week Three I will hand out large sheets of paper which you will use to render the final version of your poster design.

Here's an example of what your full size final poster should look like:


You'll begin working on the final in class in Week Three and discuss how much time we'll be devoting to completing the final over the next few classes.

Monday, July 2, 2018

CC2, Week 8: Herb Lubalin's 'Type - O - Graphics'

Here's a short video about a graphic designer you should know: Herb Lubalin. 

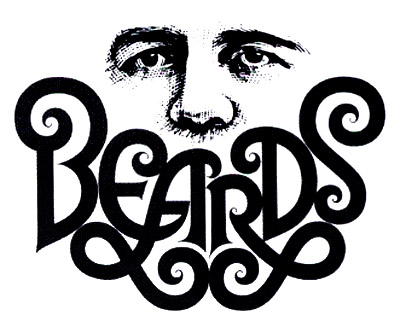
Herb Lubalin was famous for designing what he called "typ-o-graphics" - designs that combined type and art in clever, conceptual ways. For example...

Beards

Next, have a look at this blog post by graphic designer Frank Chimero

You'll be sent a link to a Excel file - choose which line you'd like to interpret as a Herb Lubalin-style typ-o-graphic and type your name in column 1 to claim that line. Only one person per line.

In class, use what we've learned about composition to create four thumbnail sketches of different ways to could interpret your line with both type and visual elements.

Next Week ISA #2: We will not be meeting in class next week. Choose one of your thumbnail sketches and create a finished version in ink wash. 


Monday, September 18, 2017

Drawing Basic Shape Cartoon People


This Week's In-Class Assignment

Begin as always by drawing a one-inch border.
Draw a horizontal line across the page 1/2 inch down from the top border. Draw a second horizontal line to create a one inch deep horizontal column. Draw six 1" x 1" squares in the column, equally spaced. Draw six circles in the six squares. using a very light dotted line, divide the circles in half horizontally. Draw two equally spaced dots on the centre line. Draw a line halfway between the two dots and the bottom of the circle. Make this line the same width as the distance between the two dots. Now try some variations, but always keep the two dots on the centre line and the "mouth" halfway between the dots and the bottom of the circle. Add eyebrows in different positions. Draw a second row as shown. Draw six more heads with different expressions, but add a different nose to each face. Complete the rest of the page as shown. You can drag the jpeg in this post to your desktop and print it out to use as a template.

This Week's Sketchbook Assignment

Use the construction technique from our in-class drawing exercise this week to sketch a group of four people. I chose me and my family. I started with myself, since I'm the tallest in my family, so by sketching the tallest person first, I establish how much space will be used on the page.
Notice that I extended my guidelines across the page. Not everyone in my family is the same height, but those lightly drawn guidelines will help me find their relative height. Next I drew my wife. I started with the square for the head and placed it so I established her height relative to mine.
Next is my oldest son, who is in university. He's taller than his mom, but not as tall as me. As you draw each character, add the little touches that make each character unique. Hair styles, clothing, accessories - all these thing and body language and facial expressions help define each character.
Finally I dre
w my youngest son, who is nearly as tall as me and also an artist (so I gave him a pencil and sketchbook). You can draw any group of four (or more) people, but make sure they are all on the same baseline.

For those of you interested in seeing more of Robin Davey's work, here's the link to his website.

Monday, September 11, 2017

Sketchbook Assignment #1

Find a spot somewhere outside with a flat-on view of the college buildings and sit down with your sketchbook. You may have to move back quite a ways to get a good view of the various buildings and surfaces. Do NOT choose a corner location where you are viewing two sides of the building. Spend an hour sketching the various geometric shapes that comprise the college, as well as any incidental elements (cars, trees, etc.) that you see.
Pay close attention to the contrast of values (light and shade) that you see in the scene in front of you and do your best to capture those contrasting values accurately.